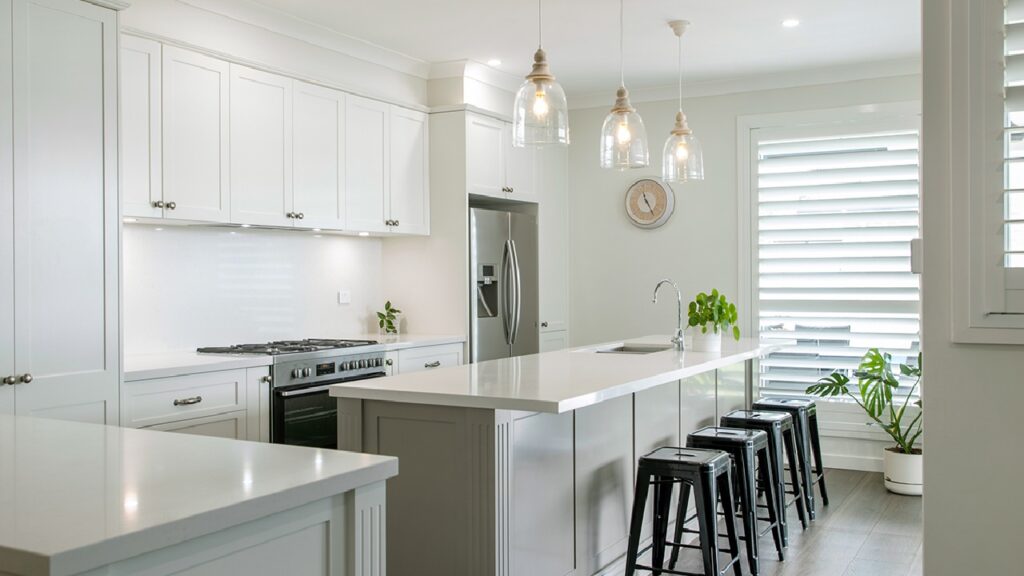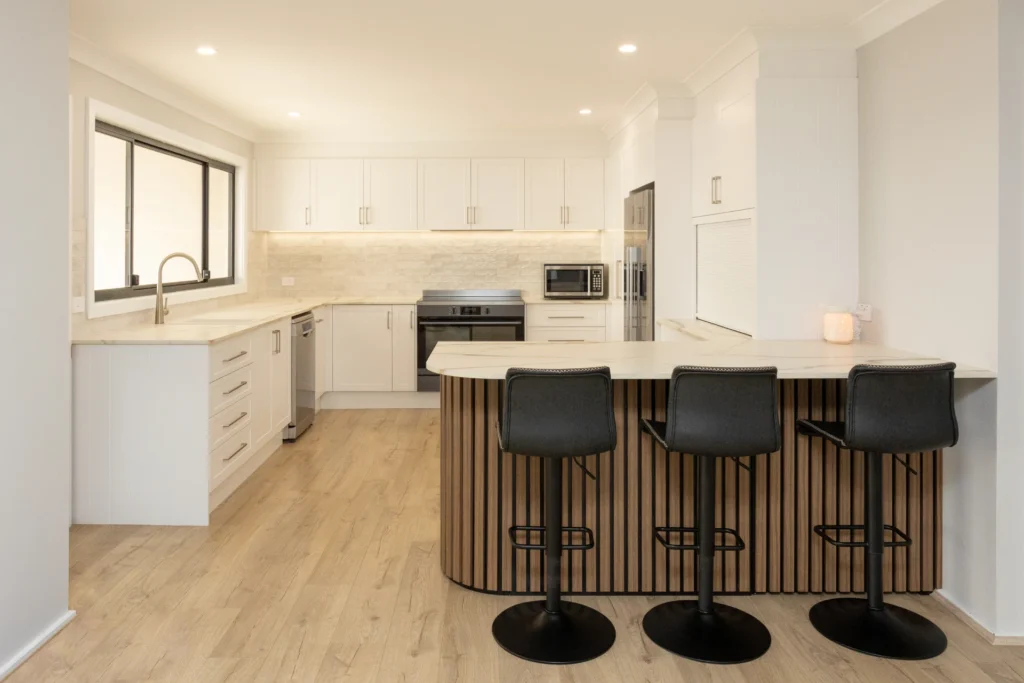


Contemporary kitchens that still feel fresh years after installation tend to share eight habits: cabinetry that runs to the ceiling, a few soft curves, texture in place of loud colour, a benchtop chosen for today’s rules, a hidden work zone for the daily mess, an island planned with a tape measure, ventilation you barely notice and an easy link to the outdoors.
None of them depend on this year’s paint colour, and that is exactly why they last. A contemporary kitchen is about what feels current, and these are the details we see making the biggest difference in homes across the Central Coast, Newcastle and the Northern Beaches.
Colour and splashbacks already have their own guides, so if that’s where you’re stuck, start with our contemporary kitchen colour schemes and contemporary splashback ideas. This one covers the decisions that happen above, behind and around them.
1. Take the cabinetry all the way to the ceiling
For decades, overhead cupboards stopped short of the ceiling. In a contemporary kitchen that gap just looks unfinished, and it’s where dust, grease and the occasional forgotten fruit bowl go to retire.
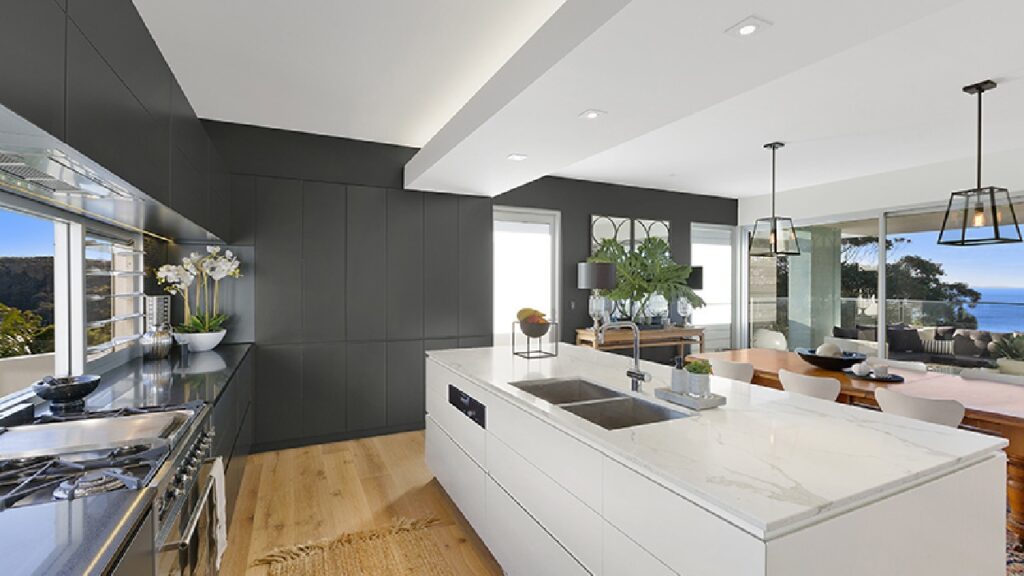
Running cabinetry to the ceiling gives you one clean line, makes the room feel taller and adds a full row of storage. On a standard 2.4m ceiling, that top row is the natural home for the platters, the big stockpot and the Christmas ham tray. Keep the things you reach for every day between hip and shoulder height, and save the top shelf for anything you use a few times a year.
Ceilings are rarely perfectly level, so the finish depends on the fit. A scribed filler panel, cut to follow the ceiling line on site, is what makes floor-to-ceiling cabinetry look built in rather than pushed into place.
Ask your designer: Where will the top row meet the ceiling, and how will any unevenness be handled?
2. Add a few curves, but only a few
Straight lines still do most of the work in a contemporary kitchen. What has changed is a softer edge here and there: a rounded end on the island, a curved open shelf finishing off a cabinet run, an arched opening into the pantry.
Curves take the hard edge off a room full of stone and 2-pac, and a rounded island corner is kinder to hips in a busy walkway. The trick is restraint. Choose one or two spots where people walk past most and let the curve earn its place there.
Curved panels are made to suit rather than bought off the shelf, so settle them early in design. Adding a curve after the plans are approved usually means reworking the cabinet run around it.
Ask your designer: Where would one curve do the most work in my layout?
3. Let texture do the job bold colour used to
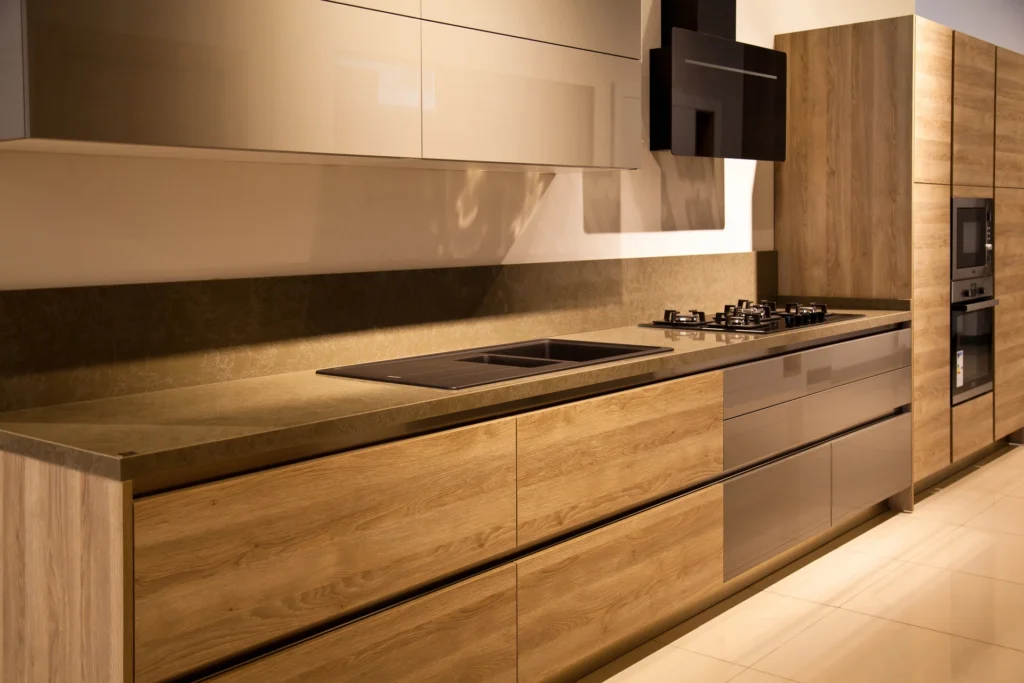
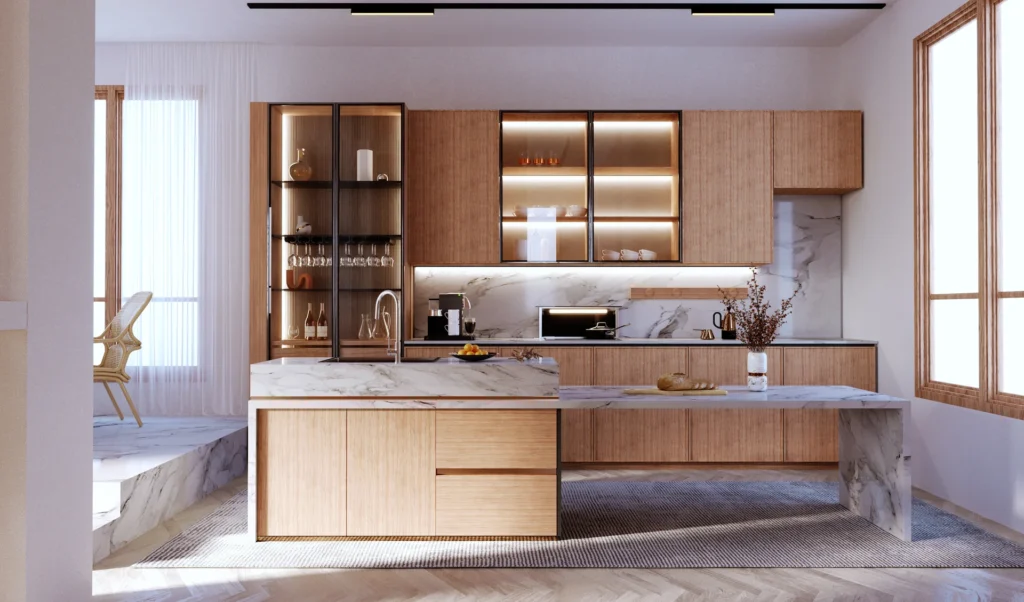
Contemporary kitchens get their depth from surfaces rather than strong colour. Fluted or reeded panels on the island front, timber veneer on a bank of tall cabinets and a honed benchtop instead of a polished one all catch light differently, so a restrained palette still looks layered.
Our HIA award-winning Saratoga kitchen is a good example. Tasmanian Oak cabinetry brings the warmth and pattern, so the rest of the room can stay calm and let the waterfront outlook do the talking.
Two practical notes on fluting. Keep it to one surface, such as the island face or a feature pantry door, because fluting on every front starts to look busy. And keep it away from the cooktop, since every groove is another place for splatter to settle.
Ask your designer: Can I see the textured sample next to my benchtop sample, in daylight?
4. Choose a benchtop that suits today’s rules
This one has changed more than most. Since 1 July 2024, the use, supply and manufacture of engineered stone benchtops, panels and slabs has been prohibited in NSW, because of the link between cutting it and silicosis in the workers who fabricate it. If your inspiration folder is full of kitchens from a few years ago, some of those benchtops can’t be installed today. Existing benchtops left undisturbed are not a problem.
Fortunately, the contemporary look translates well to the materials that remain:
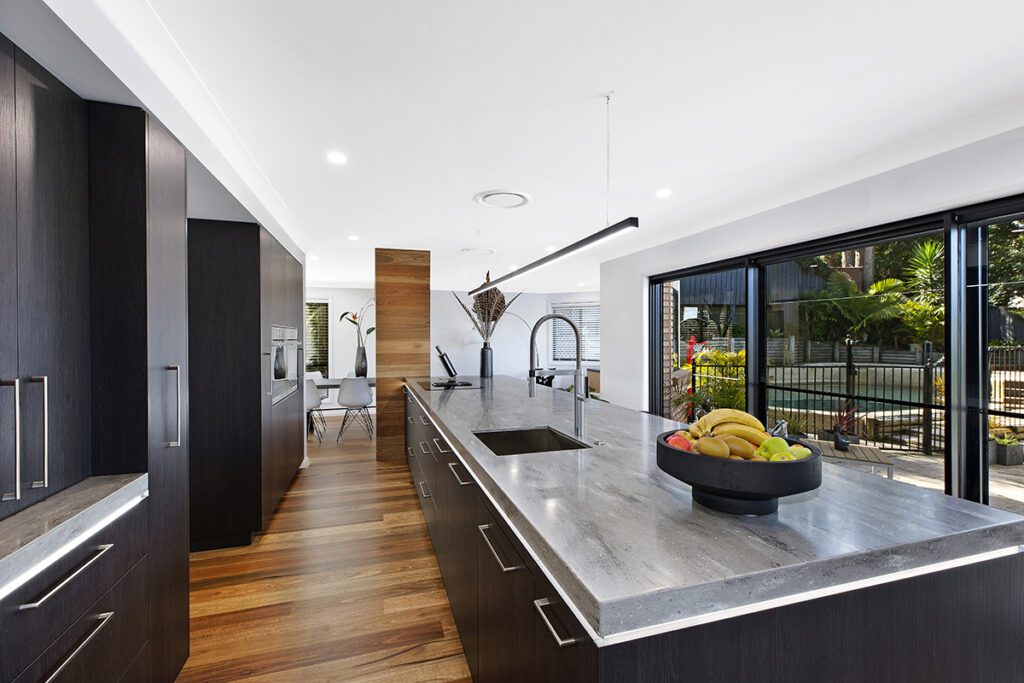
- Sintered stone and porcelain. Heat-tolerant, very consistent in colour and available in slim profiles that suit a contemporary edge. Resin-free versions are exempt from the ban. Our Saratoga kitchen uses Dekton, a sintered surface.
- Natural stone. Marble, granite and quartzite each bring one-of-a-kind veining. Marble is the softest of the three and can etch if lemon juice or vinegar sits on it, so it suits careful cooks or a less-used island.
- Timber. Warm and tactile, and a natural fit for an island top or a table extension. It needs oiling, and it will mark over time.
- Stainless steel. Hard-wearing and at home around the cooktop, especially paired with timber.
Contemporary kitchens tend to favour a thin, crisp edge, so ask how thick the finished benchtop will look from the side. If you’d like a chunkier island, a mitred edge can build up the visible thickness without using a full-depth slab. Also ask where any joins will fall on a long run, and plan them away from the sink and cooktop. Our care and maintenance guide covers looking after each surface once it’s in.
Ask your designer: Which surface suits how hard we cook, and where will the joins land?
5. Give the everyday mess somewhere to go
The honest reason showroom kitchens look so calm is that nobody has made toast in them. A contemporary kitchen only stays clean-lined at home if the kettle, toaster and coffee machine have somewhere to live.
An appliance cupboard is the simplest fix. It sits at bench height with power points inside, so appliances stay plugged in and ready, and the doors close over them when you’re done. Pocket doors that slide back into the cabinet are worth the extra spend here because they stay out of the way while you use the space. Check each appliance’s instructions for ventilation, and plan to open the doors while anything is steaming or heating.
A butler’s pantry or scullery goes further. It’s a second, smaller workspace behind the main kitchen with its own bench, often a sink or second dishwasher, and room for the dishes you’d rather not stack in view of guests. It suits big families and regular entertainers. Allow enough room to stand at the bench and open a drawer at the same time, which in practice means around a metre between facing benches. For more ways to organise what’s behind the doors, see our custom kitchen storage tips.
Ask your designer: Which appliances do I use every day, and where will each one live?
6. Size the island with a tape measure, not a mood board
The island is the centrepiece of most contemporary kitchens, and the easiest thing to get wrong by being too generous. These are the numbers we plan around:
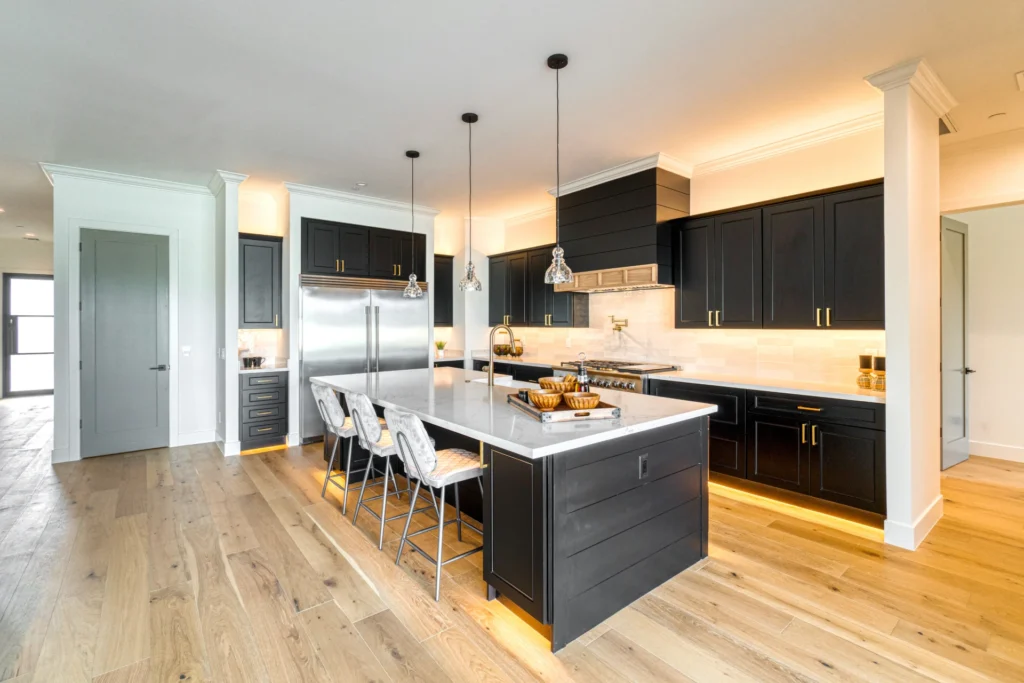
- Walkways: at least 1,000mm between the island and the back bench, and closer to 1,200mm if two people often cook at once or an oven or dishwasher opens into that space.
- Seating: allow about 600mm of bench width per stool, and a 300mm overhang so knees fit under a standard 900mm-high bench.
- Preparation space: keep one clear stretch of benchtop free of the sink, the cooktop and the stools.
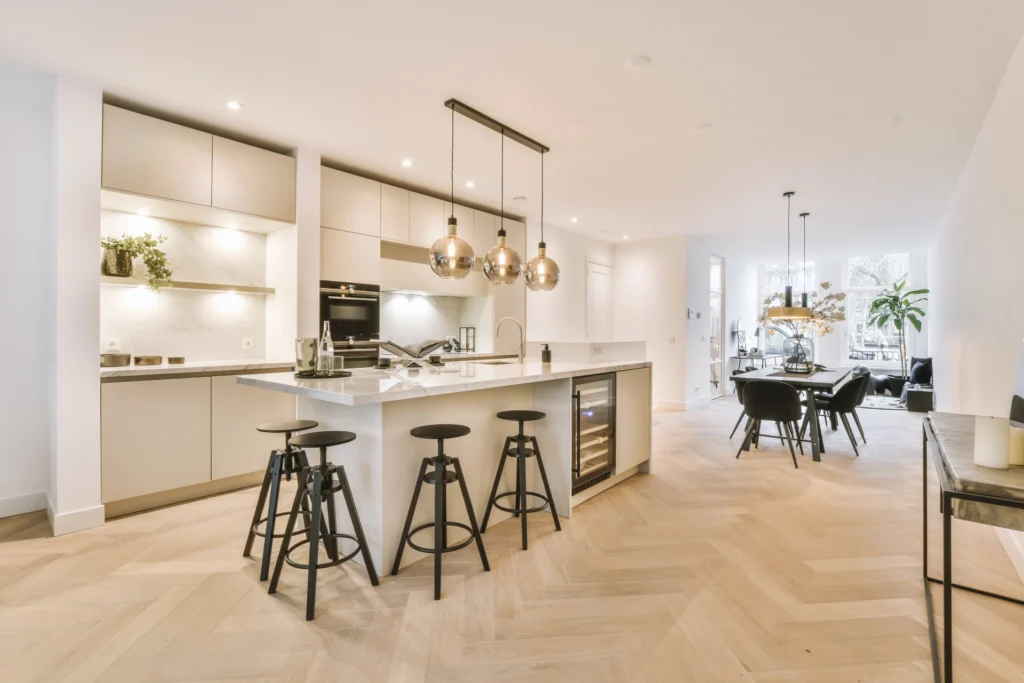
Before you sign off, mark the island out on the floor with painter’s tape and walk around it. Pretend to unload the dishwasher and see whether you can still get past. It takes ten minutes and it’s far cheaper than finding out after installation.
If a full island doesn’t fit, a table built off the end of a smaller island gives you dining at seated height without the bulk. That’s the approach in our Saratoga kitchen. Our guide to modern kitchen design covers choosing between an island, a peninsula and the other main layouts.
Ask your designer: What are the clearances on my plan with the appliance doors open?
7. Hide the rangehood, not the ventilation
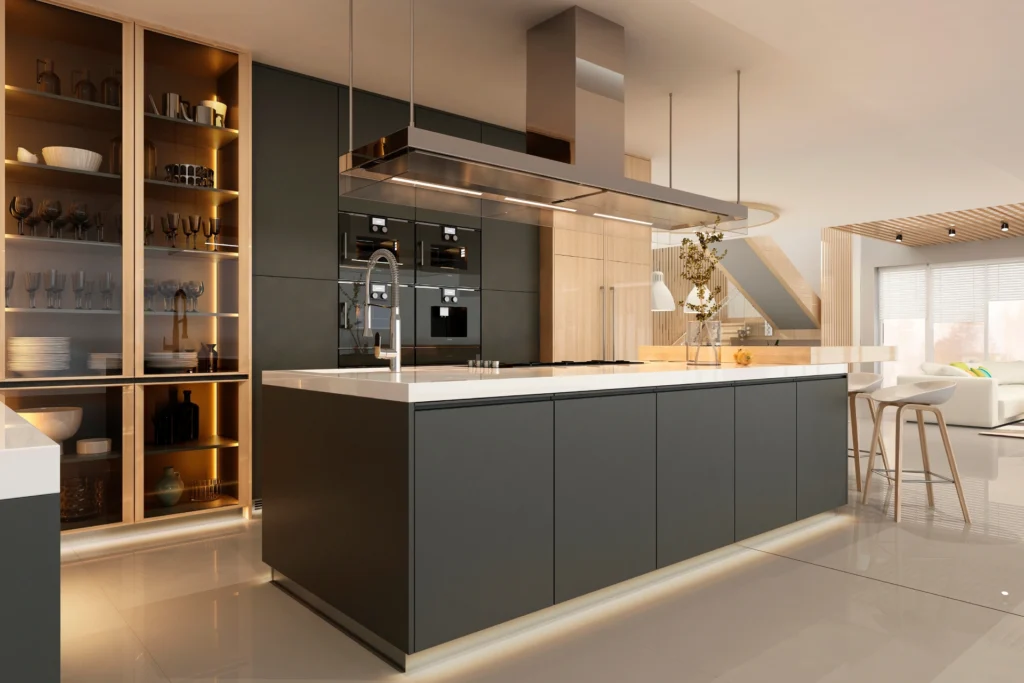
A big stainless canopy can break up an otherwise uninterrupted run of contemporary cabinetry, so many homeowners now integrate the rangehood into the overhead cabinetry or choose a ceiling-mounted unit. That works well, provided it still clears the air.
Ducting to the outside removes moisture and cooking smells more effectively than a recirculating model, which only filters the air and sends it back into the room. Plan the duct run early, because it affects the cabinetry above the cooktop. Mounting height matters too: every rangehood has a minimum clearance above the cooktop set by its manufacturer, so confirm it before the overheads are drawn.
If you’re moving to induction for that flush, flame-free look, plan the power early as well. Victoria’s induction cooktop buyers guide notes that most quality induction cooktops draw more than 15 amps and usually need hardwiring by a licensed electrician, sometimes with a switchboard upgrade. It also points out that induction still needs an efficient rangehood, and that pans need a magnetic base. A fridge magnet is the quickest way to test what you already own.
Ask your designer: Where will the duct run, and does my switchboard need checking for induction?
8. Open the kitchen to the outdoors
On the Coast, the kitchen and the deck often do the same job on a Saturday afternoon. A servery window over the bench, with the benchtop continuing outside, means plates, drinks and snacks pass straight through instead of travelling the long way round the lounge.
Line the inside and outside bench heights up so the two read as one surface when the window is open. The outdoor side needs materials that handle sun and salt air, which is where an outdoor kitchen designed alongside the indoor one pays off: matching lines, finishes chosen for each setting and one plan instead of two.
Ask your designer: Could the bench line carry through to a servery or outdoor bar?
Picking the tips that suit your home
Not every tip belongs in every kitchen. A compact apartment kitchen might gain the most from ceiling-height cabinetry and an appliance cupboard, while a new family build could justify a scullery and a servery window. Start with the two or three that fix the things that frustrate you about your current kitchen.
Then see them in person. At our Erina showroom you can open the drawers, run a hand across fluted panels and stand at a full-size island before committing to anything. From there, a Planit kitchen designer can measure up at home and map these ideas onto your actual room. Planit is family-owned, and every kitchen is designed, manufactured and painted by our own team on the Central Coast, as it has been for more than 35 years.
Ready to start? Book a design consultation and bring your list.